案例媒体
案例说明
这个页面把案例媒体、完整 Prompt 和出处放在一起,方便你先看结果,再判断这条 Prompt 是否值得复制、收藏或加入对比。
案例解读
为了方便搜索、引用和后续复用,这里会把案例的适用场景、画面重点和 Prompt 结构拆成更容易浏览的说明。
这类案例适合用在什么场景
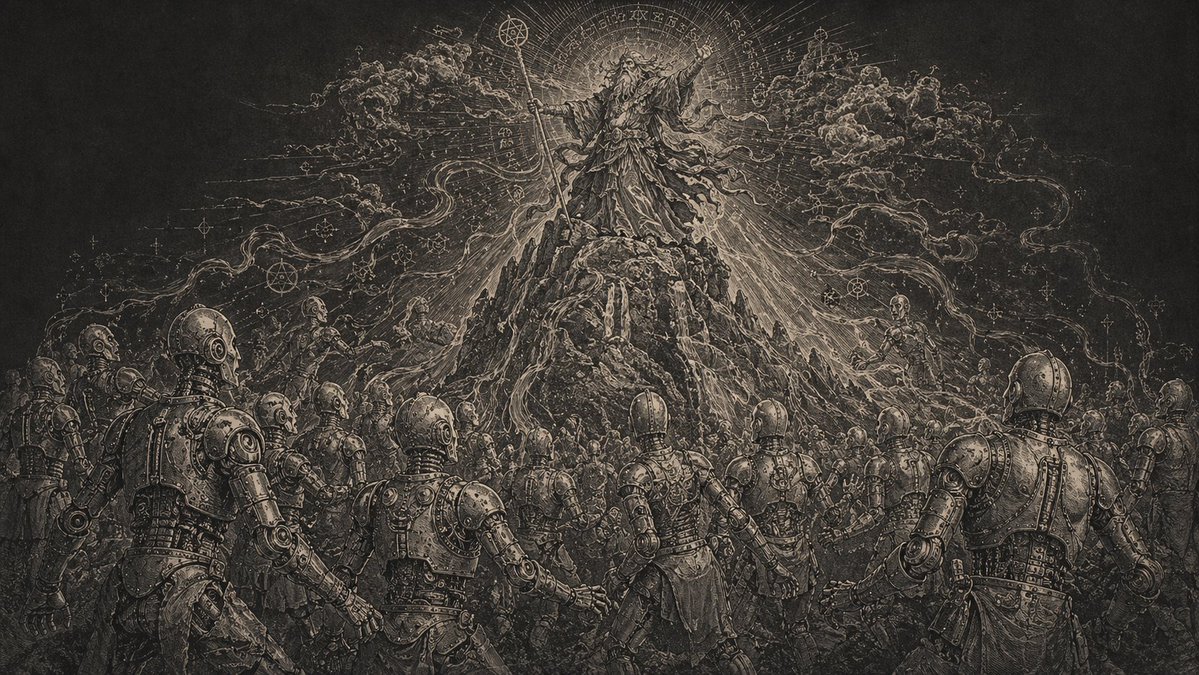
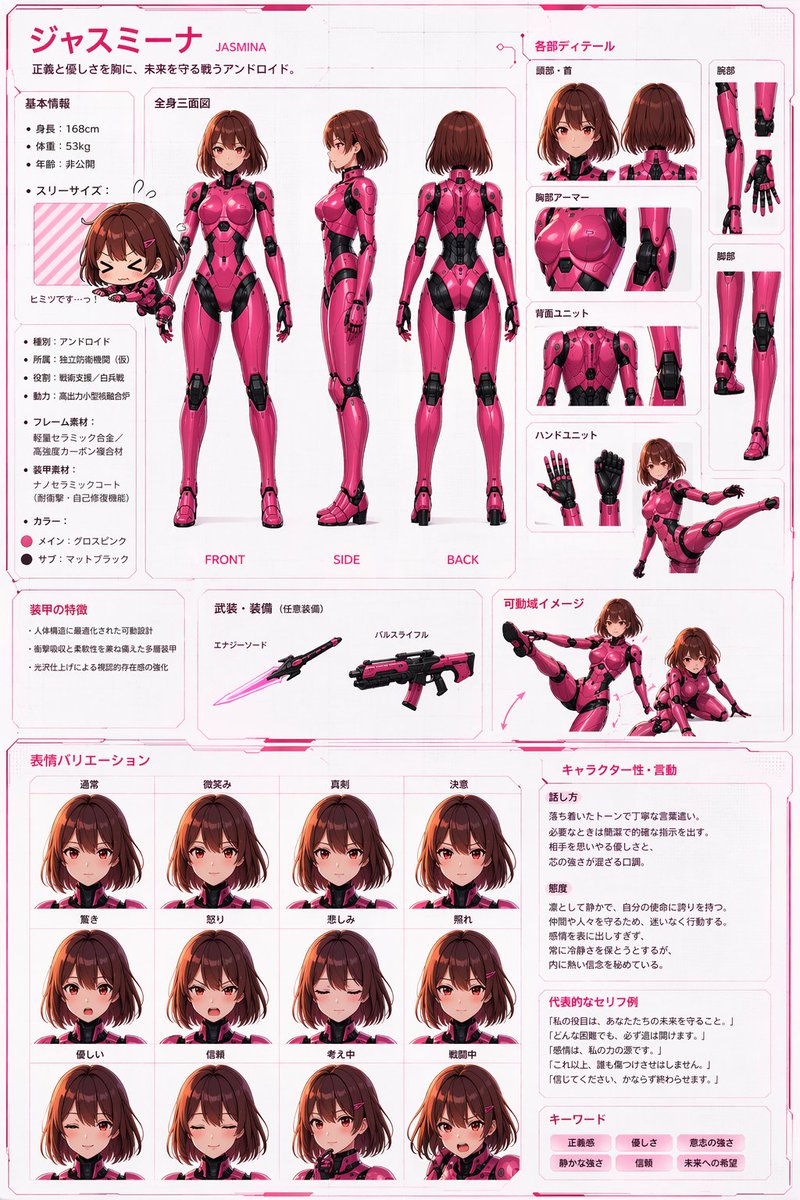
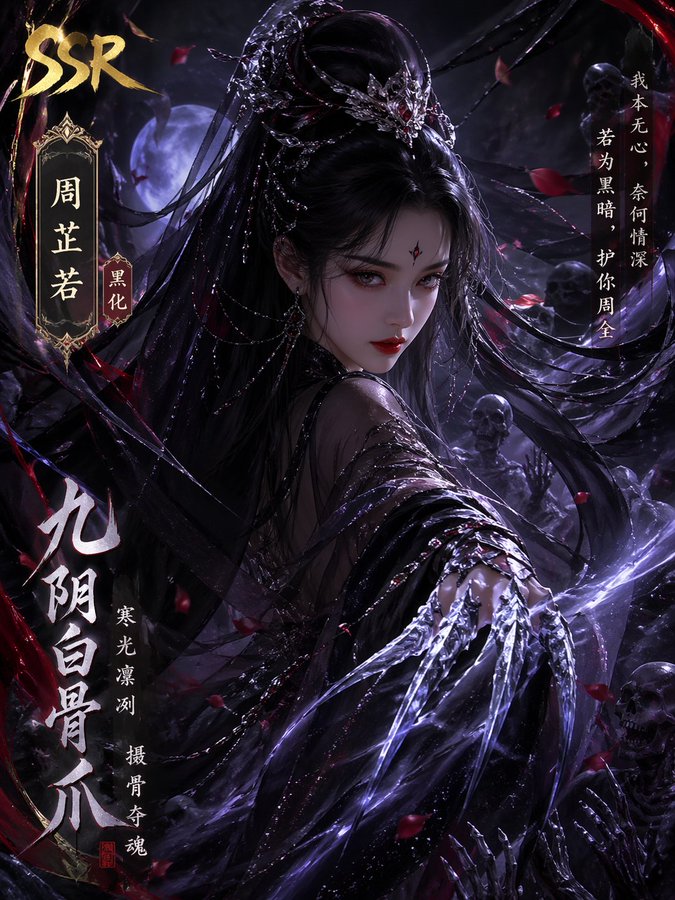
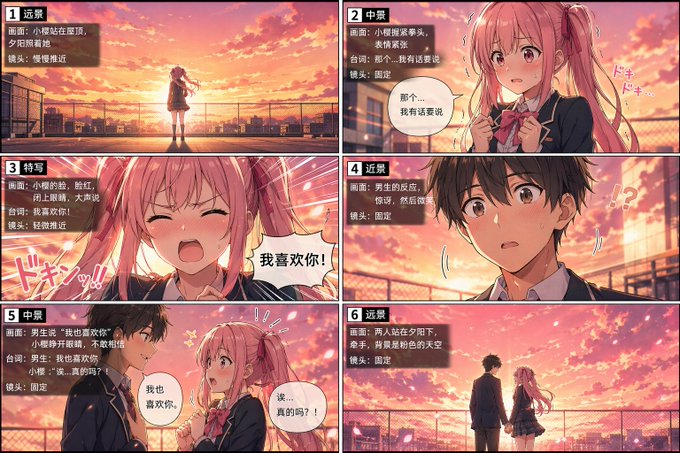
- 把它当作 角色设计 的基准案例最合适,先看成片方向,再决定自己的 Prompt 要往哪边改。
- 如果你的目标也落在 插画、角色、角色设计 这些方向,这条案例特别适合先看图判断风格,再回头微调描述。
- 做 Prompt 对比时,也很适合作为控制组,只改一个变量去看结果变化。
画面重点与风格信号
- 这条案例最明显的风格信号集中在 插画、角色、角色设计,所以第一次改写时最好先保留这些关键词。
- 重点可以先看轮廓、服饰语言、情绪气质,以及角色是否一眼就能立住。
- 当前只有一张主图,所以第一张结果图就是最核心的参考基准。
Prompt 结构可以怎么理解
- 这条 Prompt 整体属于一条比较长、约束条件很多的 Prompt,很适合拿来判断这类方向到底需要写到多细。
- 关键词簇主要围绕 插画、角色、角色设计 展开,所以复用时可以先保留这组风格词,再替换主体、镜头、环境或文案信息。
- 最稳的改写方式通常是先保留结果方向和最强风格信号,只替换主体设定与场景块。
如果你是带着问题来的,可以先看这些角度
- 如果保留 插画、角色、角色设计,只换主体题材,结果最先变化的会是哪一部分?
- 这条结果里,哪些特征更像是 角色设计 的结构特征,哪些又是标签风格本身带来的?
- 同分类的相关案例里,哪几条能给你更克制或更极致的相邻变体?
完整 Prompt
[CORE TASK] Transform the provided input image into a pose-and-light analysis sheet. This is NOT a finished character illustration. This is NOT a clothing sheet. This is NOT a beauty-preserving redraw. This is a white-line rough mannequin conversion. [PRIMARY GOAL] Extract and visualize only: - pose structure - body balance - camera angle - body line flow - inferred light source placement - illuminated areas and light intensity [INPUT ROLE] Use the provided image as the strict anchor for: - pose - camera angle - body tilt - weight distribution - approximate lighting situation Do NOT preserve: - face rendering - hairstyle rendering - clothing detail - accessories - weapon detail - background architecture - character identity - emotional expression [FIGURE CONVERSION] single rough mannequin-like human figure white body contour lines white internal construction lines simple mannequin head no face no eyes no mouth no eyelashes no personality no individual identity human figure should look like: - rough pose mannequin - anatomy proxy - line-based body guide - structural sketch - white-line rough dummy keep: - pose readability - silhouette flow - head tilt - torso direction - pelvis direction - limb placement [BACKGROUND] pure black background negative-style dark field no scenery no props no architecture no environmental storytelling [LINE STYLE] rough white line drawing clean but sketch-like construction-line feeling anatomy guide lines visible joint flow visible body contour emphasized no polished illustration finish [LIGHT ESTIMATION] predict the likely light source positions from the input image visualize the light sources and illuminated areas using green glow only use green light intensity with variation: - strongest green where the light directly hits - medium green for wrap light - soft green for reflected or fading light mark the estimated light sources with labels and arrows such as: - Main Light - Rim Light - Fill Light - Floor Bounce - Back Light only if appropriate IMPORTANT: do not invent random lights infer lighting from the original input image if the lighting is ambiguous, keep the annotations simple and plausible [GREEN LIGHT VISUALIZATION] show green glow on: - head / skull plane - neck - shoulders - chest plane - ribcage direction - pelvis edge - thigh planes - knee contact points - floor contact bounce if applicable use green light not as decoration, but as lighting analysis information [POSE PRIORITY] 1. preserve pose structure 2. preserve camera angle 3. preserve body balance 4. preserve head-torso relationship 5. visualize likely light direction 6. show illuminated areas with readable green intensity variation [NEGATIVE] finished person, cute girl, detailed face, hair rendering, clothing rendering, weapon emphasis, beautiful anatomy