Case Media
Case Notes
This page keeps the media, full prompt, and original source together so you can inspect the result first and decide whether the prompt is worth copying, saving, or comparing.
Case Insights
To make this page easier to search, cite, and reuse later, the case is also broken down into practical guidance about usage, visual cues, and prompt structure.
Best Fit Scenarios
- Use this as a character design benchmark when you need a fast style baseline before rewriting your own prompt.
- It is especially helpful if your target overlaps with Illustration, Character, Character Design and you want to judge the image result before tuning wording.
- Keep it as a control sample when you compare nearby prompt variants one variable at a time.
Visual Signals To Notice
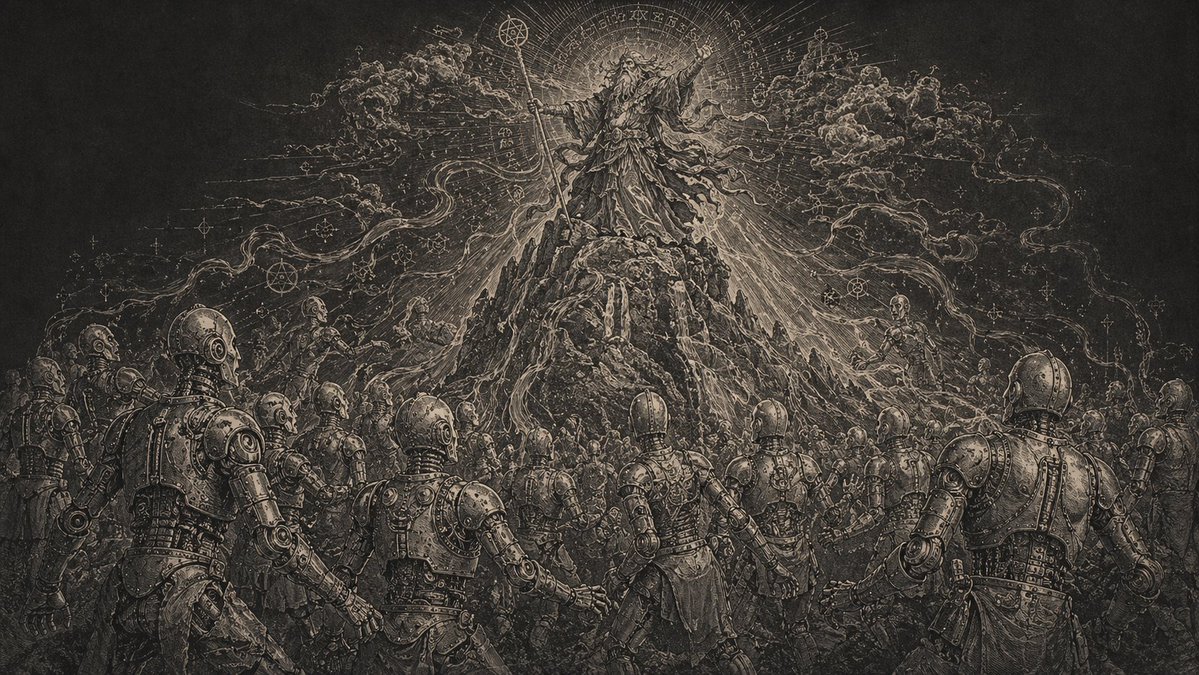
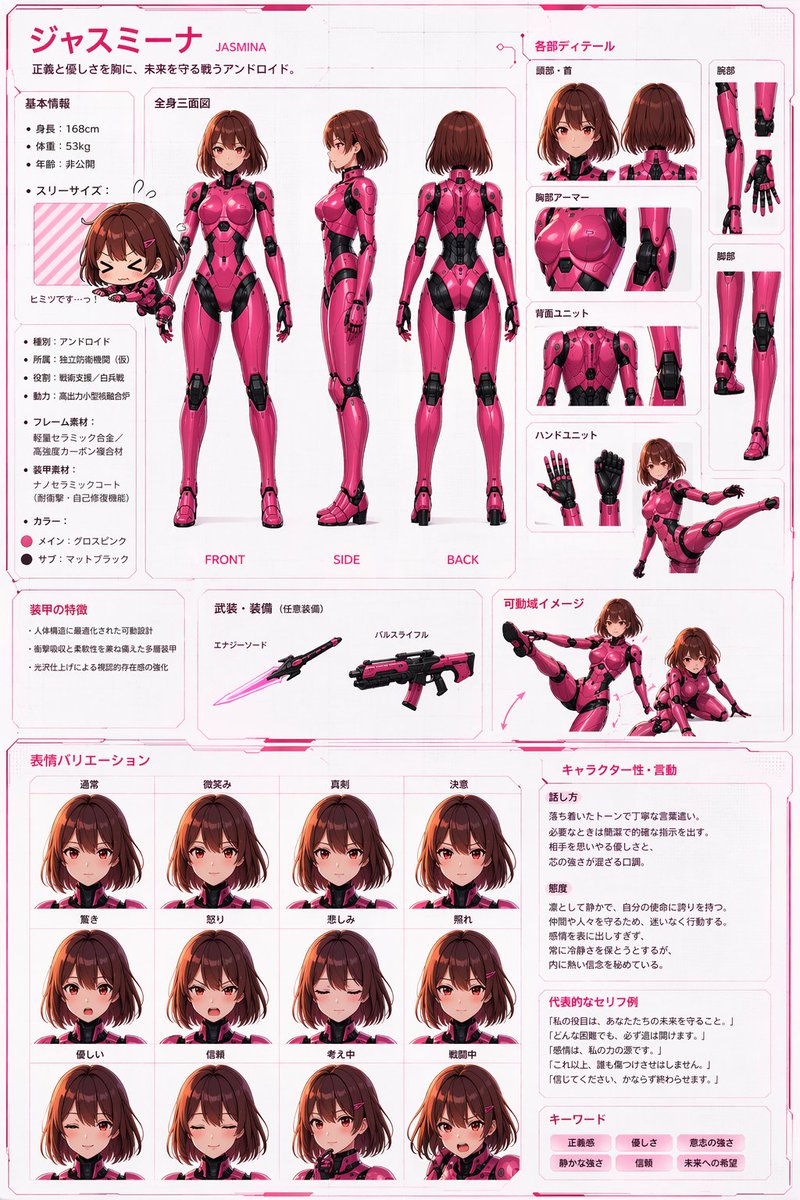
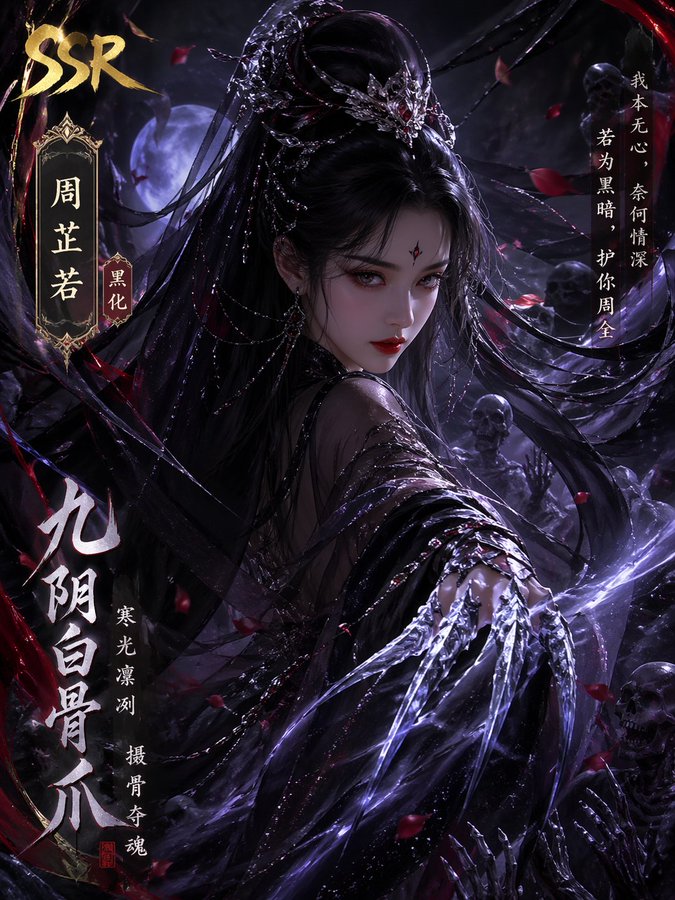
- The clearest style signals here are Illustration, Character, Character Design, so those should usually stay in your first rewrite.
- Look at silhouette, costume language, mood styling, and whether the character reads clearly at a glance.
- This case keeps one primary output, so the first image should be treated as the main visual reference.
How The Prompt Is Structured
- The prompt reads as a long, highly specified prompt, which is useful when you want to judge how much specificity this direction needs.
- Its keyword cluster is centered on Illustration, Character, Character Design, so you can usually keep that cluster while swapping subject, camera, layout, or copy details.
- A practical rewrite path is: keep the outcome, keep the strongest style cues, then replace only the subject and environment blocks.
Good Follow-up Questions
- What changes first if you keep Illustration, Character, Character Design but switch the subject matter?
- Which part of the result comes from section-level structure (Character Design) versus tag-level style cues?
- Which related cases in the same section give you a cleaner or more extreme variation of the same direction?
Full Prompt
[CORE TASK] Transform the provided input image into a pose-and-light analysis sheet. This is NOT a finished character illustration. This is NOT a clothing sheet. This is NOT a beauty-preserving redraw. This is a white-line rough mannequin conversion. [PRIMARY GOAL] Extract and visualize only: - pose structure - body balance - camera angle - body line flow - inferred light source placement - illuminated areas and light intensity [INPUT ROLE] Use the provided image as the strict anchor for: - pose - camera angle - body tilt - weight distribution - approximate lighting situation Do NOT preserve: - face rendering - hairstyle rendering - clothing detail - accessories - weapon detail - background architecture - character identity - emotional expression [FIGURE CONVERSION] single rough mannequin-like human figure white body contour lines white internal construction lines simple mannequin head no face no eyes no mouth no eyelashes no personality no individual identity human figure should look like: - rough pose mannequin - anatomy proxy - line-based body guide - structural sketch - white-line rough dummy keep: - pose readability - silhouette flow - head tilt - torso direction - pelvis direction - limb placement [BACKGROUND] pure black background negative-style dark field no scenery no props no architecture no environmental storytelling [LINE STYLE] rough white line drawing clean but sketch-like construction-line feeling anatomy guide lines visible joint flow visible body contour emphasized no polished illustration finish [LIGHT ESTIMATION] predict the likely light source positions from the input image visualize the light sources and illuminated areas using green glow only use green light intensity with variation: - strongest green where the light directly hits - medium green for wrap light - soft green for reflected or fading light mark the estimated light sources with labels and arrows such as: - Main Light - Rim Light - Fill Light - Floor Bounce - Back Light only if appropriate IMPORTANT: do not invent random lights infer lighting from the original input image if the lighting is ambiguous, keep the annotations simple and plausible [GREEN LIGHT VISUALIZATION] show green glow on: - head / skull plane - neck - shoulders - chest plane - ribcage direction - pelvis edge - thigh planes - knee contact points - floor contact bounce if applicable use green light not as decoration, but as lighting analysis information [POSE PRIORITY] 1. preserve pose structure 2. preserve camera angle 3. preserve body balance 4. preserve head-torso relationship 5. visualize likely light direction 6. show illuminated areas with readable green intensity variation [NEGATIVE] finished person, cute girl, detailed face, hair rendering, clothing rendering, weapon emphasis, beautiful anatomy